
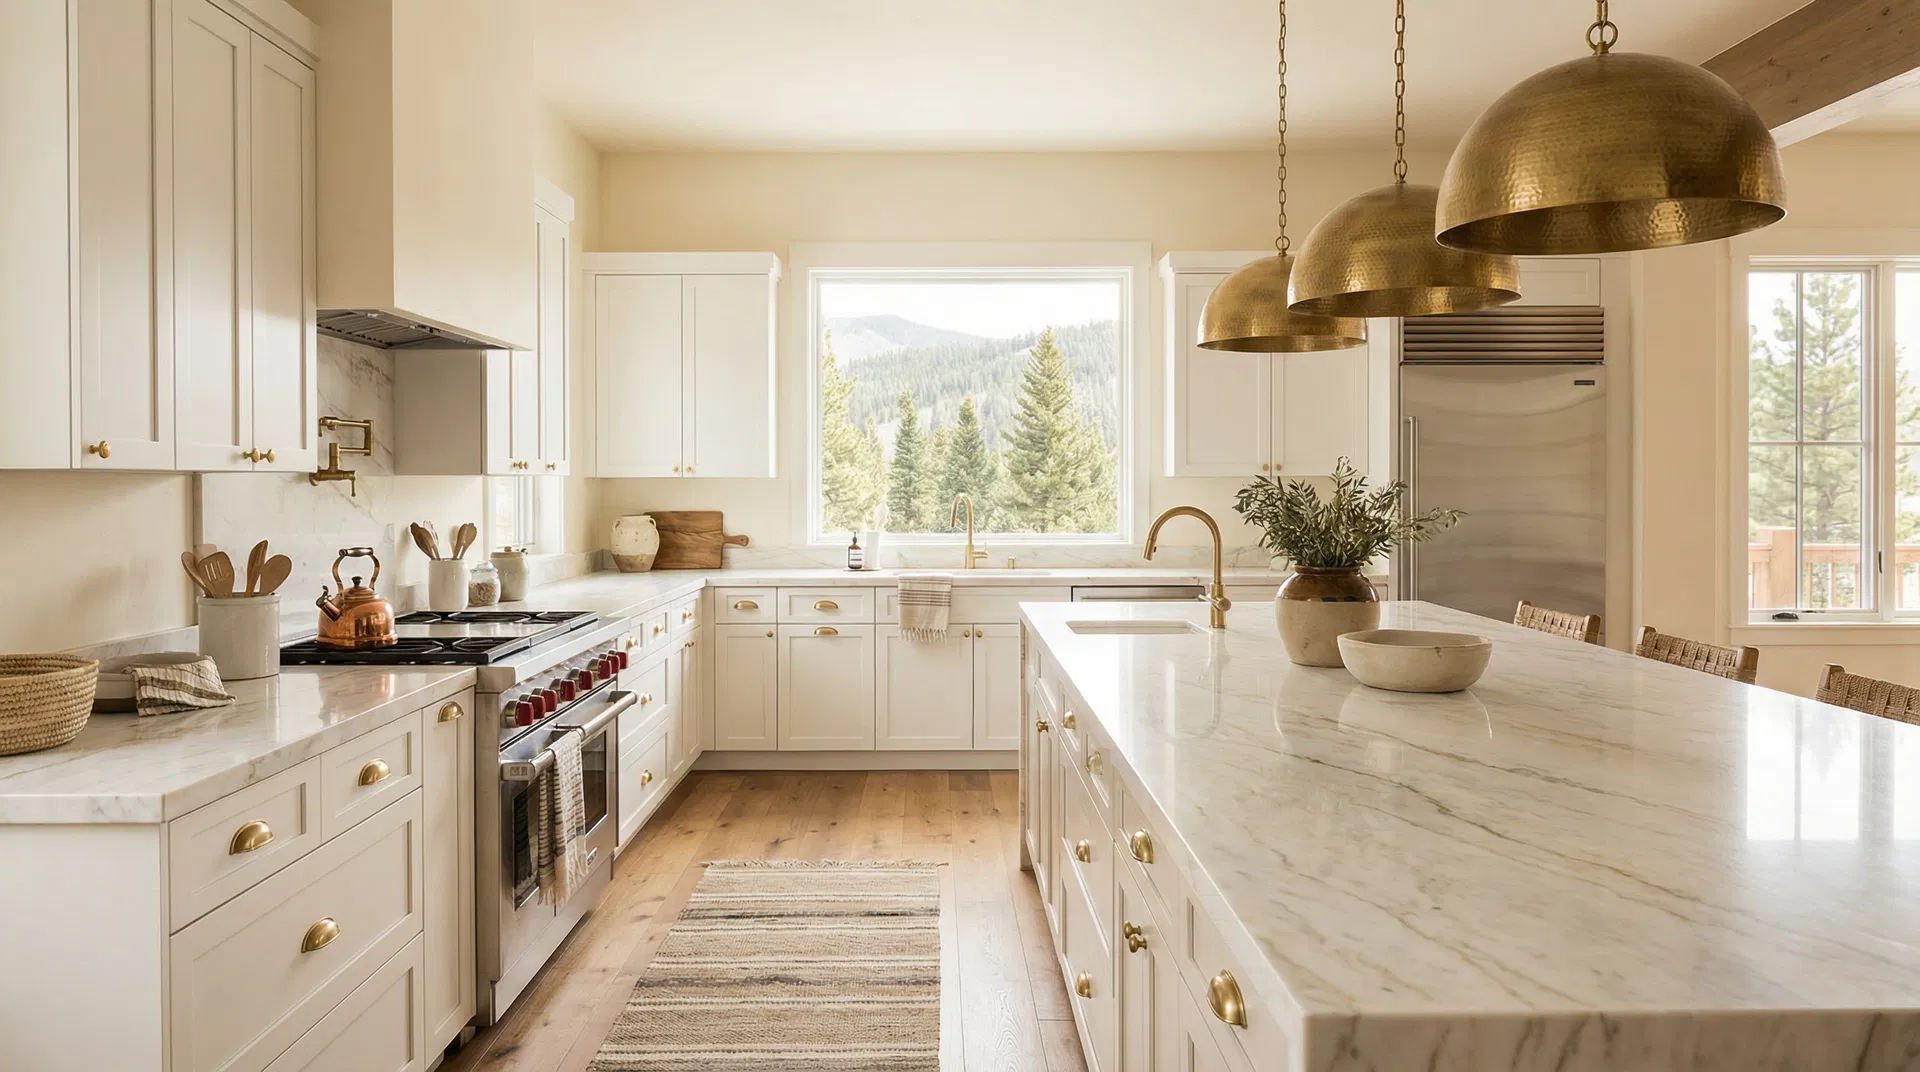
Learn how to choose kitchen cabinets for your Utah home, from layout and door styles to construction, installation planning, and estimates.
Quick Answers
- Replace or reface? Replace cabinets when the boxes are weak, the layout is frustrating, or storage falls short. Refacing can make sense when cabinet boxes are sound and the layout already works.
- What quality details matter most? Look at box material, drawer joints, hinges, and glides. Ask which construction details are included in the specific cabinet line you are considering.
- Which door style is right for me? Choose the door silhouette first. Shaker suits clean, transitional spaces, raised panel feels more traditional, and slab doors create a modern look.
- Should I choose drawers or shelves? Deep drawers help with pots and heavy cookware. Shelves suit everyday dishes. Rollout trays make deep pantry storage easier to use.
- How should I prepare for a consultation? Bring your three biggest storage frustrations, appliance model numbers, inspiration photos, and basic room measurements.
- Do I need a permit? It depends on your city and project scope. Confirm requirements with the local building office before work begins.
Choosing kitchen cabinets is a storage decision first and a style decision second. If you have been researching how to choose kitchen cabinets, the options can pile up quickly. Layouts, door styles, finishes, construction, and timelines all compete for attention. This guide follows the order that helps most homeowners make a confident decision: solve the storage problems, plan the layout around daily life, choose details you can verify, then prepare for installation and an itemized estimate.
Start With the Problems You Want Cabinets to Solve
Most kitchen projects begin with a frustration, not a decorating idea. Maybe a drawer binds every time you open it. A corner cabinet may swallow pans that never get used. Two people may collide at the sink on busy mornings. Before looking at a door sample, write down your three biggest daily frustrations.
That short list should guide the entire project, from cabinet layout and hardware to storage accessories and budget. A beautiful finish is a welcome detail, but it cannot repair a kitchen that does not work for your household.
Replacement, Full Remodel, or New Construction
Your situation shapes the logistics more than any single product choice.
- Cabinet replacement typically keeps much of the existing layout while replacing worn or outdated cabinets.
- A full remodel can involve changes to plumbing, appliances, flooring, walls, or lighting. The scope and trade coordination grow accordingly.
- New construction calls for cabinet design to be coordinated with the builder's construction schedule.
Each path starts with accurate in-home measurements before any order is finalized. Aspen Ridge Cabinets can guide the planning process for kitchen cabinet installation, from a free in-home consultation through final adjustments.
Plan the Layout Around How You Actually Cook
Layout beats looks. The best layout test is a normal weekday in your own kitchen. Think through breakfast, packing lunches, unloading groceries, and cleanup. Note every point where people bump into each other or an item has no clear home.
Try this quick exercise before your consultation: list the five items you use most often, where each one lives now, and where you wish it lived. That creates a useful starting point for a cabinet plan that supports the way you cook instead of forcing you to work around it.
Work Zones, Traffic Flow, and Landing Space
A practical kitchen keeps preparation, cooking, and cleanup areas close enough to work together. Prep space generally belongs near the sink. Cooking space belongs near the range. Cleanup space belongs near the dishwasher.
Counter space near the refrigerator and range also matters. It creates a place to set groceries, hot dishes, and cookware without crossing the room. Exact clearances vary with the walls, windows, doorways, and utilities in each home, which is why an in-home design review is more useful than a generic layout rule.
Drawers, Shelves, and Rollouts
Choose each cabinet by what it will hold and how often you reach for it.
- Deep drawers are useful for pots, stand mixers, and other heavy tools because you can see contents at a glance.
- Shelves work well for everyday dishes and lighter items stored near eye level.
- Rollout trays improve access in deep pantry cabinets, where fixed shelves can hide everything behind the first row.
A simple rule helps: the heavier the item, the more it benefits from a drawer near waist height. Keep daily-use items between knee and shoulder height. Reserve high shelves and the backs of deep cabinets for items you use less often.
Corners, Pantries, and Awkward Spaces
Corner cabinets deserve deliberate planning because they can waste valuable space. A lazy Susan keeps round items moving and reachable. A blind-corner pullout reaches deeper, though it adds hardware and cost. Open corner shelving is a simpler option when display space is more valuable than enclosed storage.
Tall pantry cabinets and storage walls can add significant capacity along one wall. If your pantry feels like a black hole, consider shallower shelves or pullouts instead of one deep cavity. Planning these areas early is often more effective than trying to fix them with organizers later.
Choose a Door Style Before You Choose a Finish
Door style creates the silhouette of the kitchen, while finish sets the mood. It is usually easier to adjust a color direction than to rethink the profile on every cabinet door. Choose the silhouette first, then narrow the finish options that work with it.
Shaker, Raised Panel, and Slab Doors
- Shaker doors have clean lines and a transitional feel. They work comfortably in many home styles.
- Raised-panel doors bring more detail and tend to feel traditional or formal.
- Slab doors have flat fronts and a streamlined, modern appearance. Their simple surfaces are also easy to wipe clean.
For a deeper comparison of two of the most popular options, read Shaker vs. Raised Panel Cabinets. You can also explore the current door styles and finishes before your consultation.
Match the Door to Your Home and Daily Routine
Look at your home's architecture before following a trend. A mid-century home may suit shaker or slab doors. A traditional brick home may call for more profile detail. Trim, windows, flooring, and hardware all offer clues about the style that will feel cohesive.
Daily use matters, too. Detailed door profiles can collect more kitchen grease, while simple door fronts are faster to wipe down. During a consultation, compare samples in your own lighting and bring photos of two or three styles you like. Seeing the options in the actual room is more useful than choosing only from online images or a showroom display.
Compare Finishes, Wood Species, and Hardware Carefully
Finishes behave differently after years of real use. Painted cabinetry can show chips and may make dust more visible, depending on the color. Stain shows wood grain and can make minor wear less noticeable. Glazed finishes add depth to detailed doors but also add texture that needs regular cleaning.
When comparing finishes, ask about the finish system and care instructions, not just the color name. Follow the manufacturer guidance for the cabinets you select, especially around cleaning products and moisture exposure.
How Wood Species Affect the Final Look
Wood species and finish should be chosen together. Maple often works well with paint and light stains. Oak has a more visible grain. Cherry tends to deepen in tone over time. Each species changes the character of the same door profile.
Utah's dry seasonal conditions can also affect natural wood movement. Ask how the cabinet line's construction accounts for the materials used in your project. Reviewing physical samples in the room's natural light helps you see undertones that can disappear in photos.
Knobs, Pulls, and Placement
Hardware is a grip and cleaning decision as much as a design choice. Pulls are often easier to grab with full or messy hands. Knobs can be simple to clean around and fit a wide range of styles. Match the finish and shape to the era of your trim and fixtures, then place each piece where your hand naturally lands.
Cabinet Construction Details You Will Notice Every Day
Construction may not be the first thing guests see, but it affects how your cabinets perform over time. Ask for the specific details included in the line you are comparing rather than assuming all cabinets are built the same way.
Box Material, Drawers, Hinges, and Glides
Plywood cabinet boxes generally hold screws and fasteners well and are more moisture resistant than particleboard in everyday use. Drawer construction, glides, and hinges matter because they are used every day.
Dovetail drawer joints interlock the drawer parts for a strong connection. Full-extension undermount glides allow the drawer to open fully so contents do not disappear at the back. Soft-close hinges and glides help doors and drawers close gently. Aspen Ridge's J&K Cabinetry line includes construction and hardware options worth reviewing in detail during selection.
Face Frame, Frameless, and Full Overlay
Construction type changes both the appearance and the interior access of a cabinet.
- Face-frame cabinets show a frame around cabinet openings and create a traditional American look.
- Frameless cabinets mount doors directly to the box sides, creating clean lines and broad interior access.
- Full-overlay face-frame cabinets cover most of the frame with the door for a more streamlined look while retaining face-frame construction.
The right choice depends on the look you want, the cabinet line, and how much usable interior space matters in your layout.
Two Smart Verification Habits
First, ask whether the cabinet line has independent quality certification and what that certification covers. Second, ask about composite-wood emissions and finish documentation if those details matter to your family. Clear product documentation is more useful than an unsupported promise in a quote.
Read warranty terms before ordering as well. Aspen Ridge Cabinets offers a one-year installation labor warranty, and J&K Cabinetry provides a five-year limited manufacturer warranty. Coverage and exclusions can differ by manufacturer and product, so review the warranty that applies to your chosen line.
Prepare for Installation Before the Crew Arrives
Knowing the order of events makes a cabinet project feel more manageable. Aspen Ridge's cabinet installation process includes consultation and design, material selection, preparation, installation, and a final walkthrough.
Measurements, Ordering, and Timing
Measurements happen in your home, where walls, floors, appliances, and clearances can be evaluated accurately. Lead times and installation duration depend on the cabinet line, project scope, site conditions, and current availability. Ask for the expected schedule in writing when you approve the project.
Demolition, Site Protection, and Utility Coordination
Removing old cabinets can be messier than installing new ones, so agree on protection and cleanup early. Aspen Ridge's demolition and site preparation service covers the steps that help create a clean, level surface for new cabinets.
Plumbing, electrical, and gas work should be coordinated with appropriately qualified professionals. If your project affects those systems or changes the layout, confirm local permit requirements before work begins. Rules can differ by city and project scope.
Appliance and Countertop Coordination
Cabinet dimensions should be planned around your actual appliances, not generic assumptions. Gather model numbers for the range, refrigerator, dishwasher, and sink before the consultation. Handles, trim, ventilation requirements, and clearances all influence the final layout.
Countertops are usually measured after cabinets are installed. Coordinate your countertop fabricator early so the schedule, sink, faucet, and edge details all work with the cabinet plan.
Installation Day and the Final Walkthrough
Before installation, clear counters and empty the cabinets that will be removed. Plan for crew parking and a clear path to the work area. At the final walkthrough, open every door and drawer while the installer is present. Confirm alignment, hardware operation, and any adjustments before the crew leaves.
What Shapes a Cabinet Estimate
Cabinet quotes vary for legitimate reasons. Room size and linear footage set the base, but layout complexity, corner hardware, pantry walls, cabinet line, door style, finish, species, storage accessories, removal, repairs, and floor conditions can all affect the total scope.
The most useful comparison is an itemized written estimate after measurements. When reviewing an estimate, ask:
- Is cabinet removal and debris disposal included?
- Are hardware and final adjustments included?
- What is excluded, such as countertops, plumbing, electrical work, or permits?
- How will out-of-square walls, uneven floors, or unexpected repairs be handled?
Clear answers prevent surprises far better than comparing only a bottom-line number.
Care for Your Cabinets After Installation
Simple habits protect your cabinet finish. Wipe spills promptly with a soft, damp cloth and dry the surface afterward. Use mild soap and water for everyday kitchen grease. Avoid abrasive pads and harsh cleaners that can dull a finish over time.
Keep standing water away from sink bases. In bathrooms, run the ventilation fan to manage humidity. A few times each year, clear crumbs from drawer glides and check that hinges remain snug. Follow the care guidance supplied with your selected cabinets, because manufacturers know their finish systems best.
Common Cabinet-Buying Mistakes to Avoid
- Choosing a door style before identifying storage needs.
- Picking a finish only under showroom lighting.
- Overlooking appliance, plumbing, and ventilation clearances.
- Assuming stock sizes will fit every wall without detailed measurements.
- Treating an early ballpark number as final scope.
- Waiting until the project week to discuss demolition, protection, and cleanup.
- Skipping the final walkthrough and discovering adjustments later.
Consultation-Preparation Checklist
Bring these items to a free in-home consultation to make the visit more productive:
- Room photos from several angles, including the inside of current cabinets.
- Basic wall and ceiling measurements. Professional measurements remain the final reference.
- Two or three inspiration images, each marked with the detail you like.
- Your three biggest storage wishes and current pain points.
- Appliance model numbers or photos of the specification labels.
- Budget priorities and the tradeoffs you are willing to make.
- Timeline expectations and practical household details such as crew parking, pets, and children.
Your Next Step
Choosing kitchen cabinets comes down to four checks: meet your storage needs, plan the layout and work zones, select styles and construction details you can verify, and end with an itemized estimate. Get those right and the rest of the decision becomes much easier.
When you are ready to move from research to a real plan, request a free in-home estimate from Aspen Ridge Cabinets. The team can review your kitchen, take measurements, bring samples, and help you compare options for your Utah home. You can also call (801) 797-3990 to get started.